
It's cultured Mondays again and this week you get to meet my little helper! Isn't he precious! I love being in the kitchen with my little guy and I love the fact that he is being introduced to such healthy eating habits at such a young age (2!). Since cooking with nourishing, traditional foods can mean more time in the kitchen, I like to have my son help as much as he can so we can spend time together.

Here he is helping mommy peel garlic.

The recipe this week is for a gallon sized cultured vegetable medley. I used what I had on hand from my co-op to make up this batch of vegetables. According to my husband, this was the best sauerkraut he has had to date...
*2 heads of cabbage
*2 very small heads of cauliflower
*2 dozen radishes
*4 heads of garlic
*2 tablespoons fennel seed
*2 tablespoons sea lettuce flakes (form of seaweed)
*4 tablespoons pink salt
*1/4 cup sauerkraut juice from my last batch of sauerkraut

I buy my gallon sized glass jars from Azure Standard, a large co-op on the West Coast. They are cheap and I use them to store all kinds of things (cultured foods, dried foods, beans, grains and more!)

I carefully washed all the vegetables and cut them into bite sized pieces. Even though my radishes were small, I cut them in half as the radishes I have cultured in the past are a bit hard to eat whole. Some of the larger garlic cloves I also cut in half.
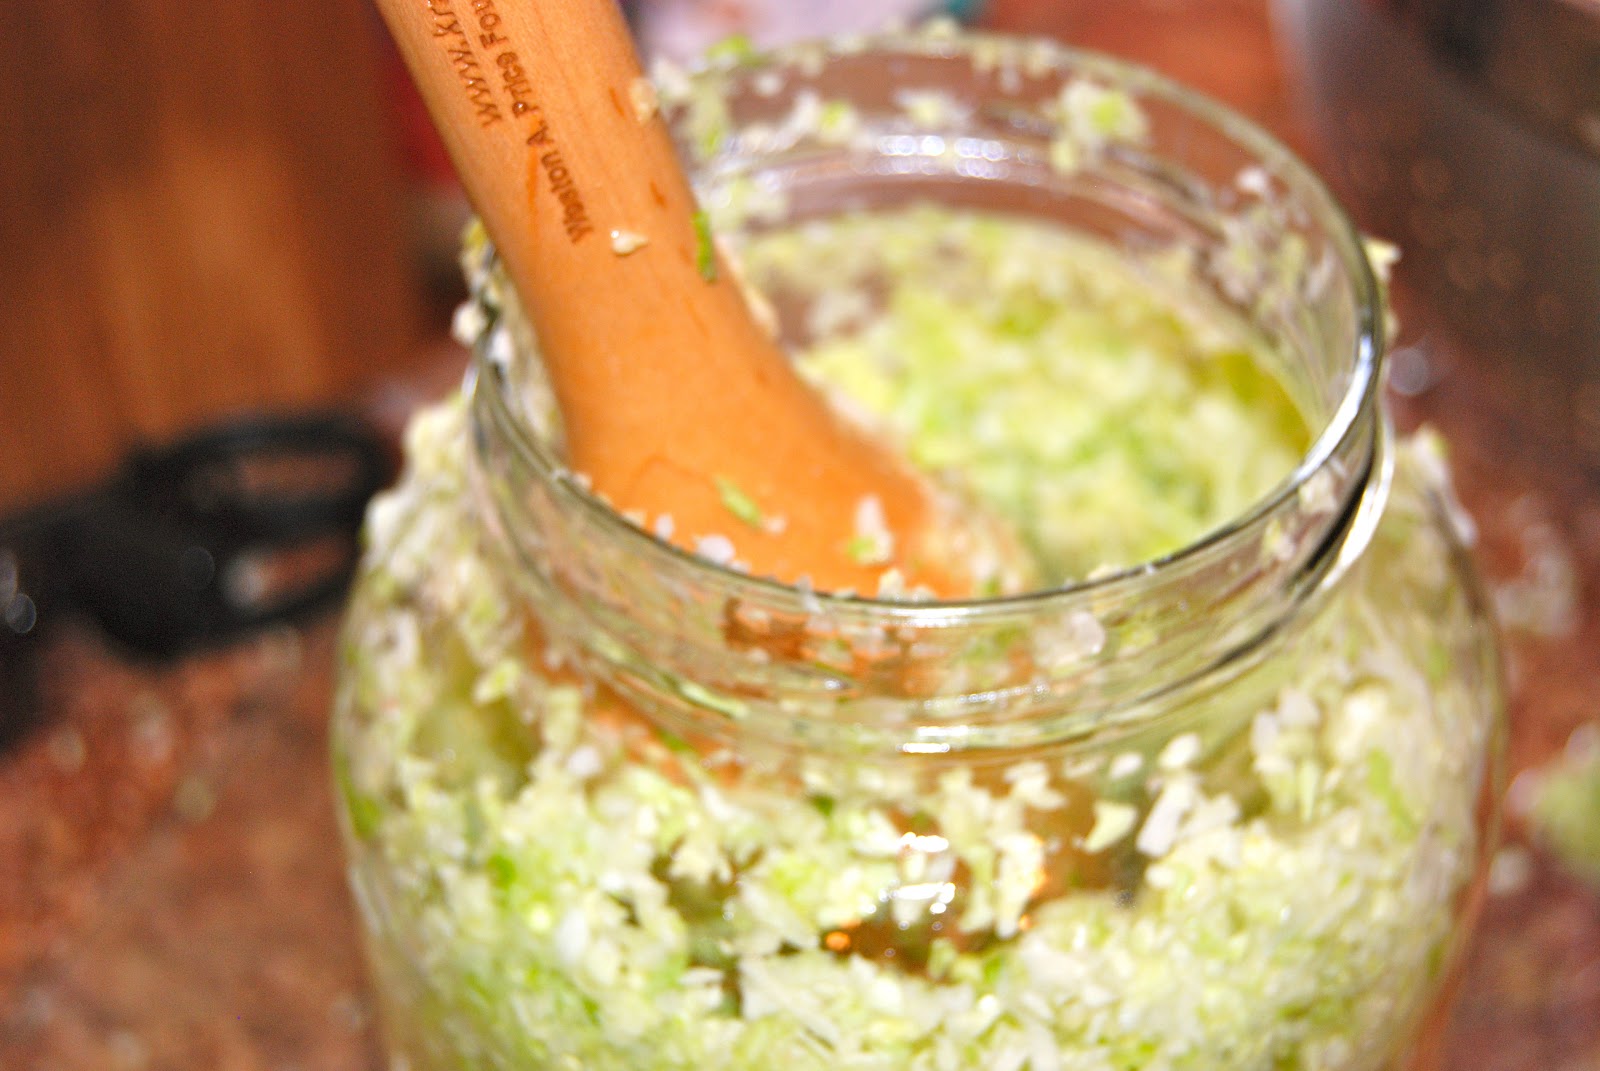
Next, I shredded all the cabbage and added the cabbage, seasoning, and vegetables to my jar in layers, beating down each layer with my kraut pounder (I LOVE that thing! Makes making sauerkraut so much easier!)

I was able to get enough juices from the cabbage using the kraut pounder that I did not need to add any filtered water. If your pounding does not yield enough juice to cover your vegetables, then add enough water to cover the top of the vegetables. The water needs to be filtered water. Now it's ready to sit for 3 days (or more - I would say up to 5 or 6 days as long as you are not developing mold and depending on the temperature of your home. The ideal fermenting temperature is 70 degrees. Since it's winter and our home has been below that temperature, I am letting my vegetable sit out for 5-6 days.). Make sure that when you cover your jar, you have the lid on loosely to allow for air to escape. Keep in a dark place; I use a kitchen cabinet.

The above picture is how the jar looks after 24 hours of fermenting. It's hard to see, but you can see just a little liquid forming at the bottom of the jar, a sign that fermenting is taking place, along with bubbles you will see forming in the jar.

This is day two of fermenting. See how much the color has changed and the amount of liquid forming on the bottom. I like to check for mold and I also press the vegetables back down into the liquid at least once a day.

Day three of fermenting and it smells divine! I let this batch sit out for about 5 1/2 days. It's nice and soft and the garlic has lost it's sharp bite and is nice and mellow. My husband LOVES this batch. I enjoyed the sweet contrast of the fennel seeds.
(Featured on Healthy Home Economist, Nourishing Treasures, My Sweet and Savory, Delighfully Dowling, Ruth's Real Foods, Homestead Revival, Real Food Forager, Simply Sugar and Gluten Free, Cooking Traditional Foods, A Glimpse Inside, Gluten Free Pantry, A Little Nosh, Momnivoure's Delimma, GNOWFLGINS, The Nourishing Gourmet, Food Renegade, Butter Believer)
Oh MAN!! That looks SO good!
ReplyDeleteI love making my own sauerkraut and pickles too. I add some kefir wehy from my kefir cheesemaking. Your mixed veg recipe sounds wonderful.
DeleteI have yet to try cultured vegetables...but I love tangy things, so I am sure i would love it! Thanks for showing me how and for linking to Allergy Free Wednesdays!
ReplyDeletethis looks great! do you think i can make it without a starter liquid like you used the liquid from the last batch of kraut? in other words, how differently did you make your first batch?
ReplyDeleteSusan,
DeleteYou do not have to use starter liquid from your last batch. You can use whey instead.